# Basic Placement
Creating a Placement App (Using Plane Detection)
# About this Sample
This sample uses plane detection for object placement in the scene. The sample comes complete with all necessary components and scripts, including a collection of objects, to make the setup process as smooth as possible. Upon completion, you will have a fully functional scene ready for build and run. To start working with this sample, you need to install Resight Engine.
# Follow these steps after setting up Resight Engine:
- Go to the Resight Samples/Basic Placement Sample folder
- Locate the scene named “Basic Placement” and open it
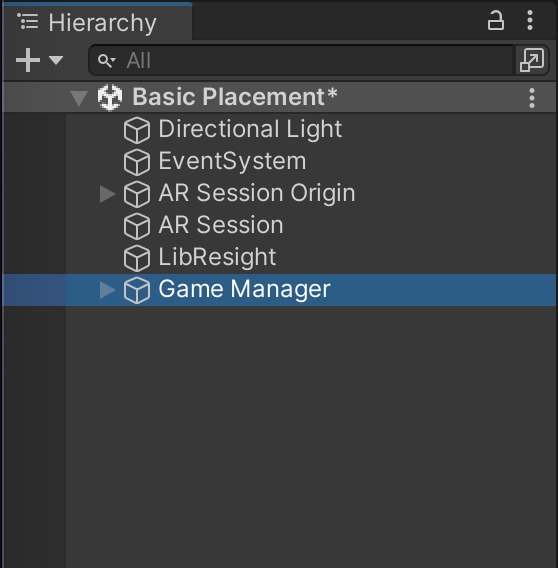
# Basic Placement Scene
The AR setup is complete and features an AR Session to oversee the AR experience, as well as an AR Session Origin, which contains the Main Camera, The AR Plane Manager, and the AR Raycast Manager. The scene is also equipped with Resight Engine.
# Resight Engine Settings
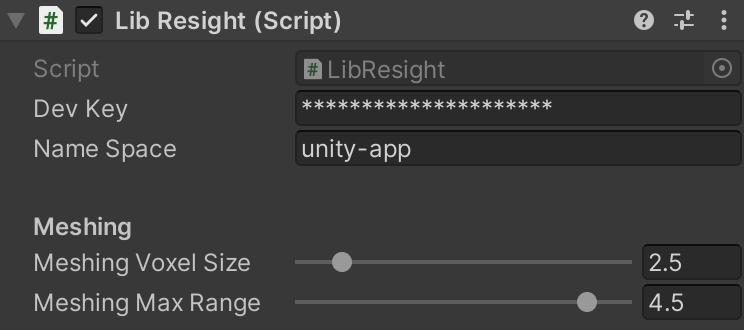
- Go to the 'Resight' game object in the open scene
- Find the 'LibResight' component
- Enter your developer key (provided by Resight) and a namespace
- A namespace can be any string (without spaces), for example: Default / Production / Test-1
- A namespace is a unique data store under your developer account
- Mapping data and snapped objects are not shared between different namespaces
# Game Manager Component
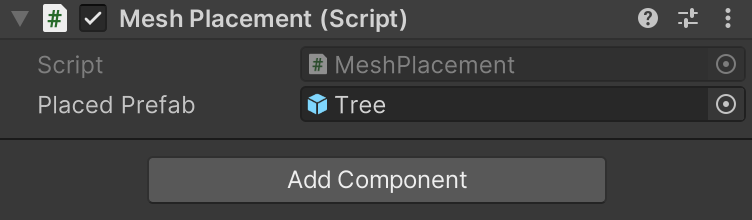
The MeshPlacement script utilizes Physics's Raycast functions to facilitate the real-world placement of objects. If desired, you have the option to personalize the scene by substituting the default objects with your own Prefabs.
- Find the Game Manager object in the Hierarchy
- Drag and drop your own Prefab to Placed Prefab:
This scene utilizes the movement scripts to facilitate effortless manipulation and removal of objects in collaboration with our live mesh.
The scene comes with pre-made materials, 3D models, and Prefabs that are ready for your use without any restrictions. Enjoy! 🙃