# Getting Started
How to set up and get started with Resight Engine
# Updates & Fixes (v.1.0.0)
- Engine: Performance improvements and bug fixes
- Installer: New scoped registry for version management and upgrades
- Editor: Integrate button added to GameObject context menu
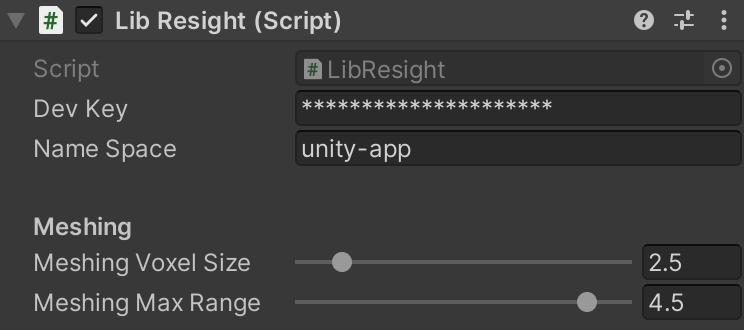
- Resight Component: Add mesh configurations for quality adjustments
- Sample Apps: New Virtual Camera sample and helper scripts for object manipulation
# System Requirements
- Unity 2021.3.22f1 >
    - Default Unity Render Pipeline
- iOS 15.4 >
- iPhone 12 >
    - Pro devices are needed in order to utilize 3D scans
- Xcode 14.2 >
# Resight Engine Setup
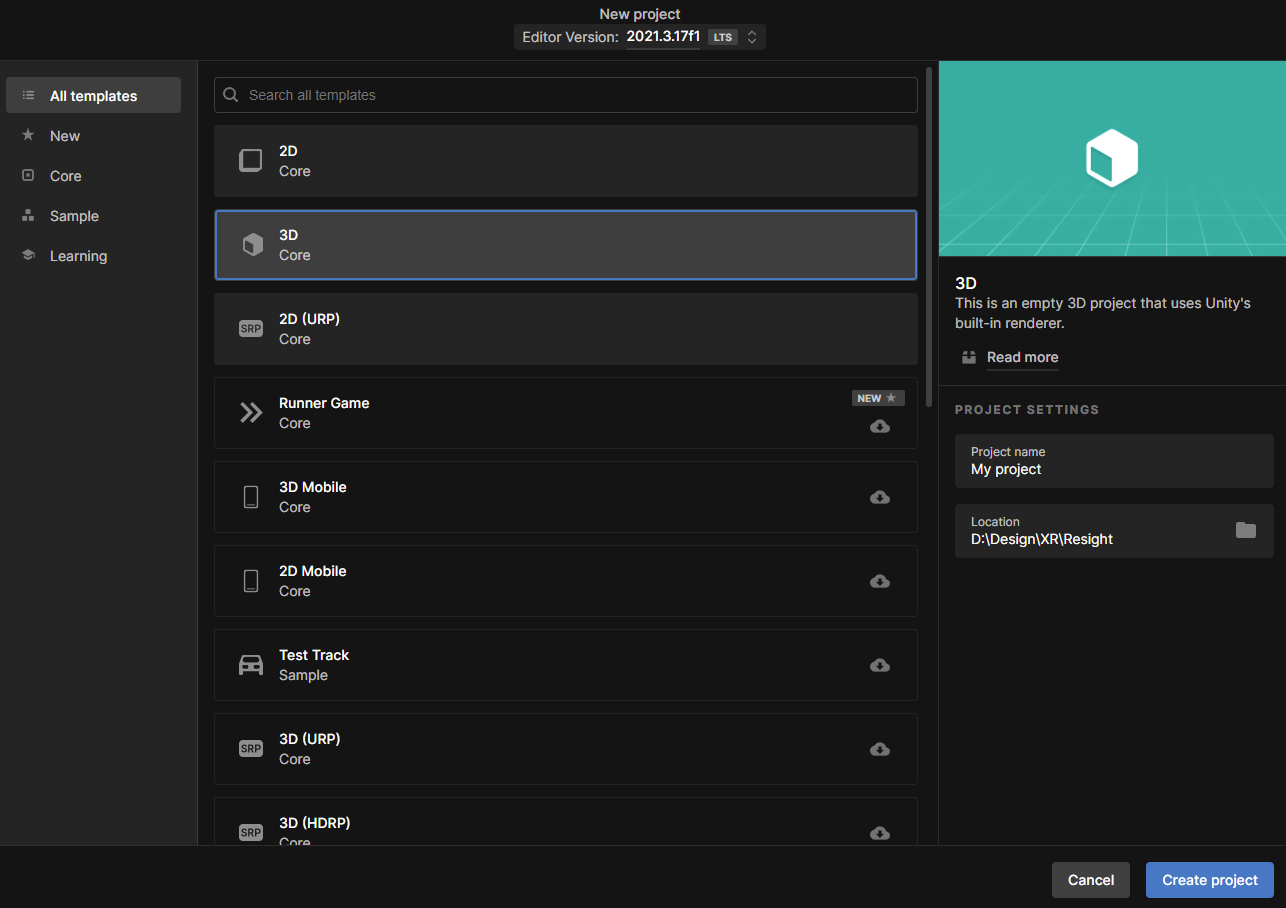
Create a new project in Unity
- Choose the 3D project template
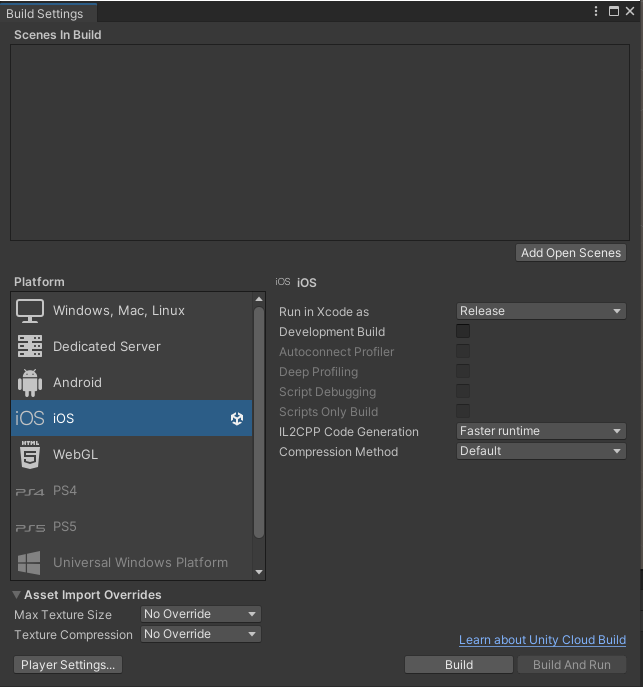
Switch to the iOS platform in File/Build Settings
Download Resight SDK Installer to a local folder (Install-io.resight.engine-latest.unitypackage)
Drag the unitypackage file to your Project window in your Unity Editor
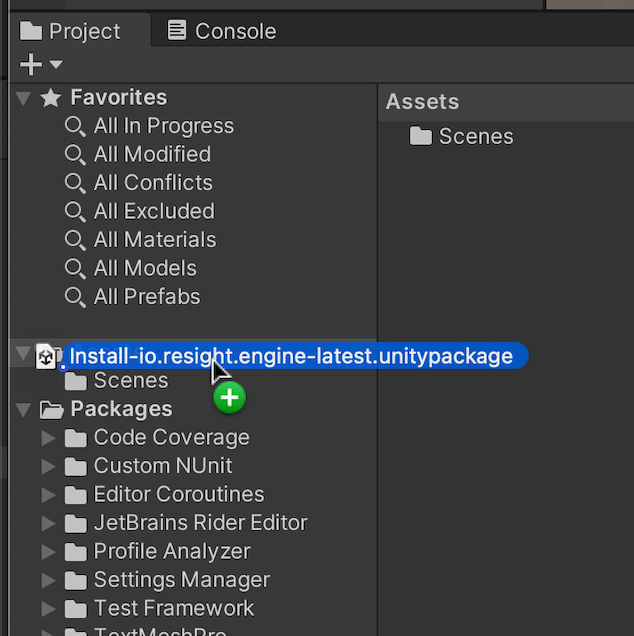
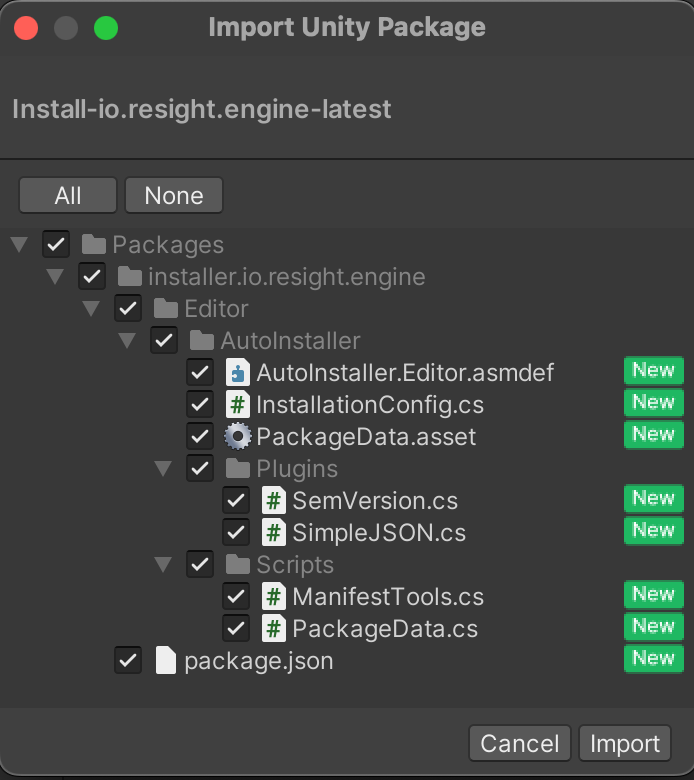
Press 'Import' to import the installer into your project
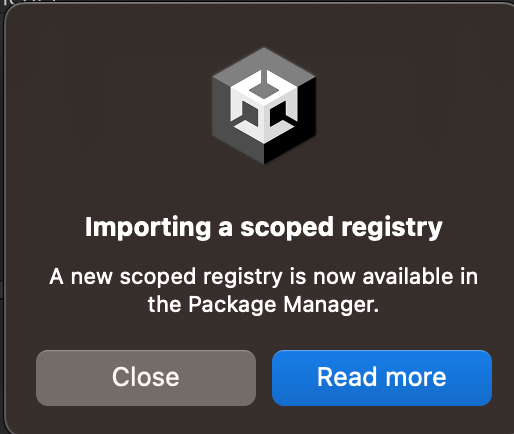
Wait till you get notified about "Importing a scoped registry" and press Close
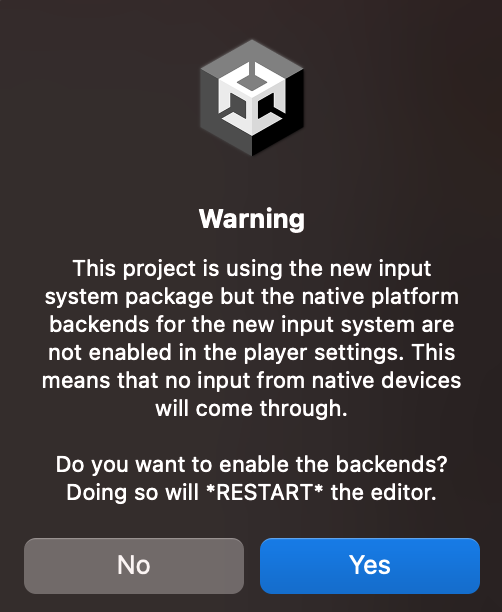
If a 'Warning' pops up about input system, press Yes and wait untill Unity has restarted
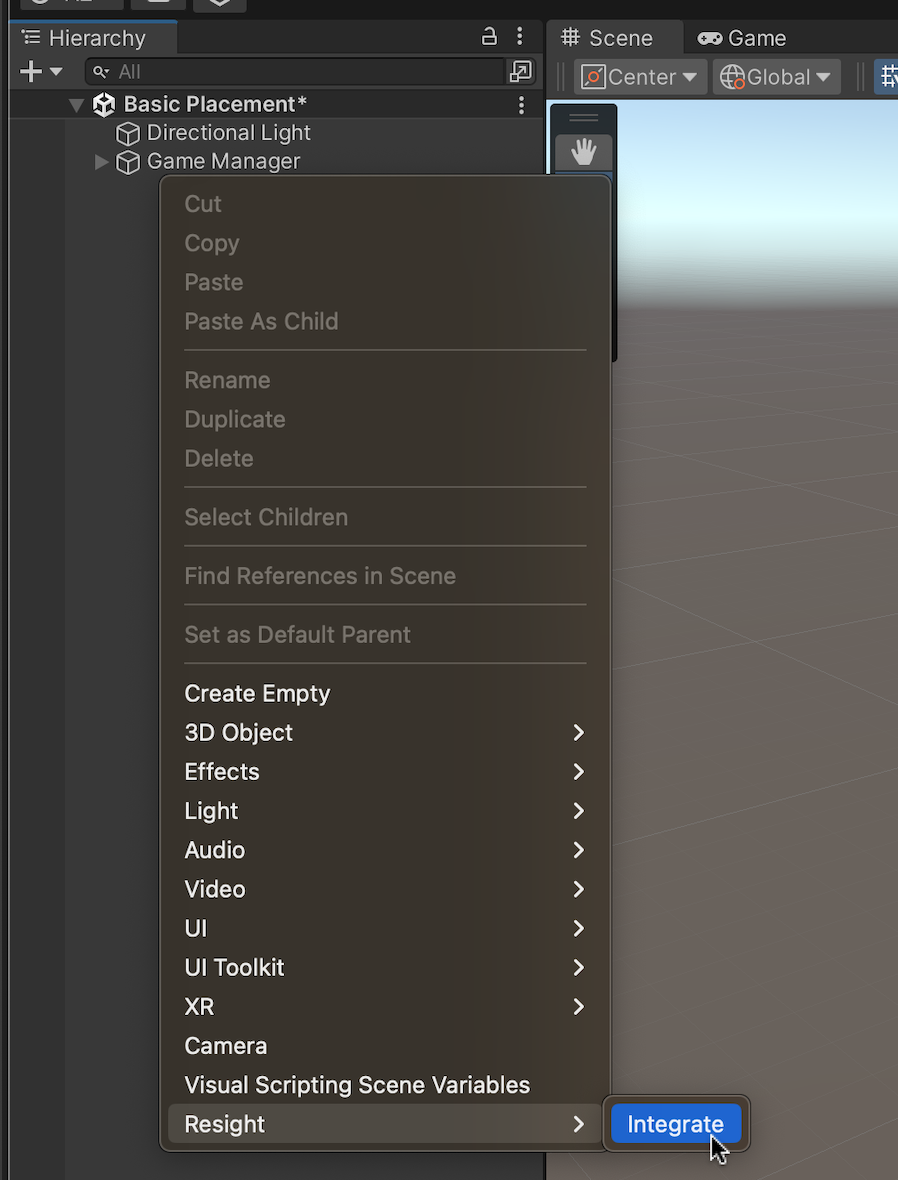
Right-click some empty space in the Hierarchy window and choose Resight / Integrate
TIP
Make sure to only have one camera tagged 'MainCamera' in the scene.
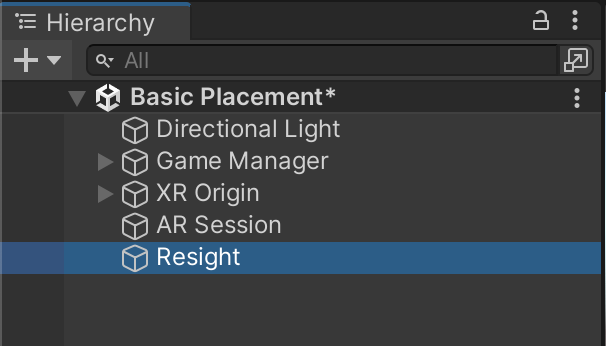
- Once the integration is complete, you should find the Resight object and the necessary AR objects in the scene.
# Resight Engine Settings
- Select the "Resight" game object in the open scene
- Find the "LibResight" component in the inspector window
- Enter your developer key (provided by Resight) and a namespace
- A namespace can be any string (without spaces), for example, Default / Production / Test-1
- A namespace is a unique data store under your developer account
- Mapping data and snapped objects are not shared between different namespaces
# Resight Samples
Import the sample apps located at Window/Package Manager under Resight Engine
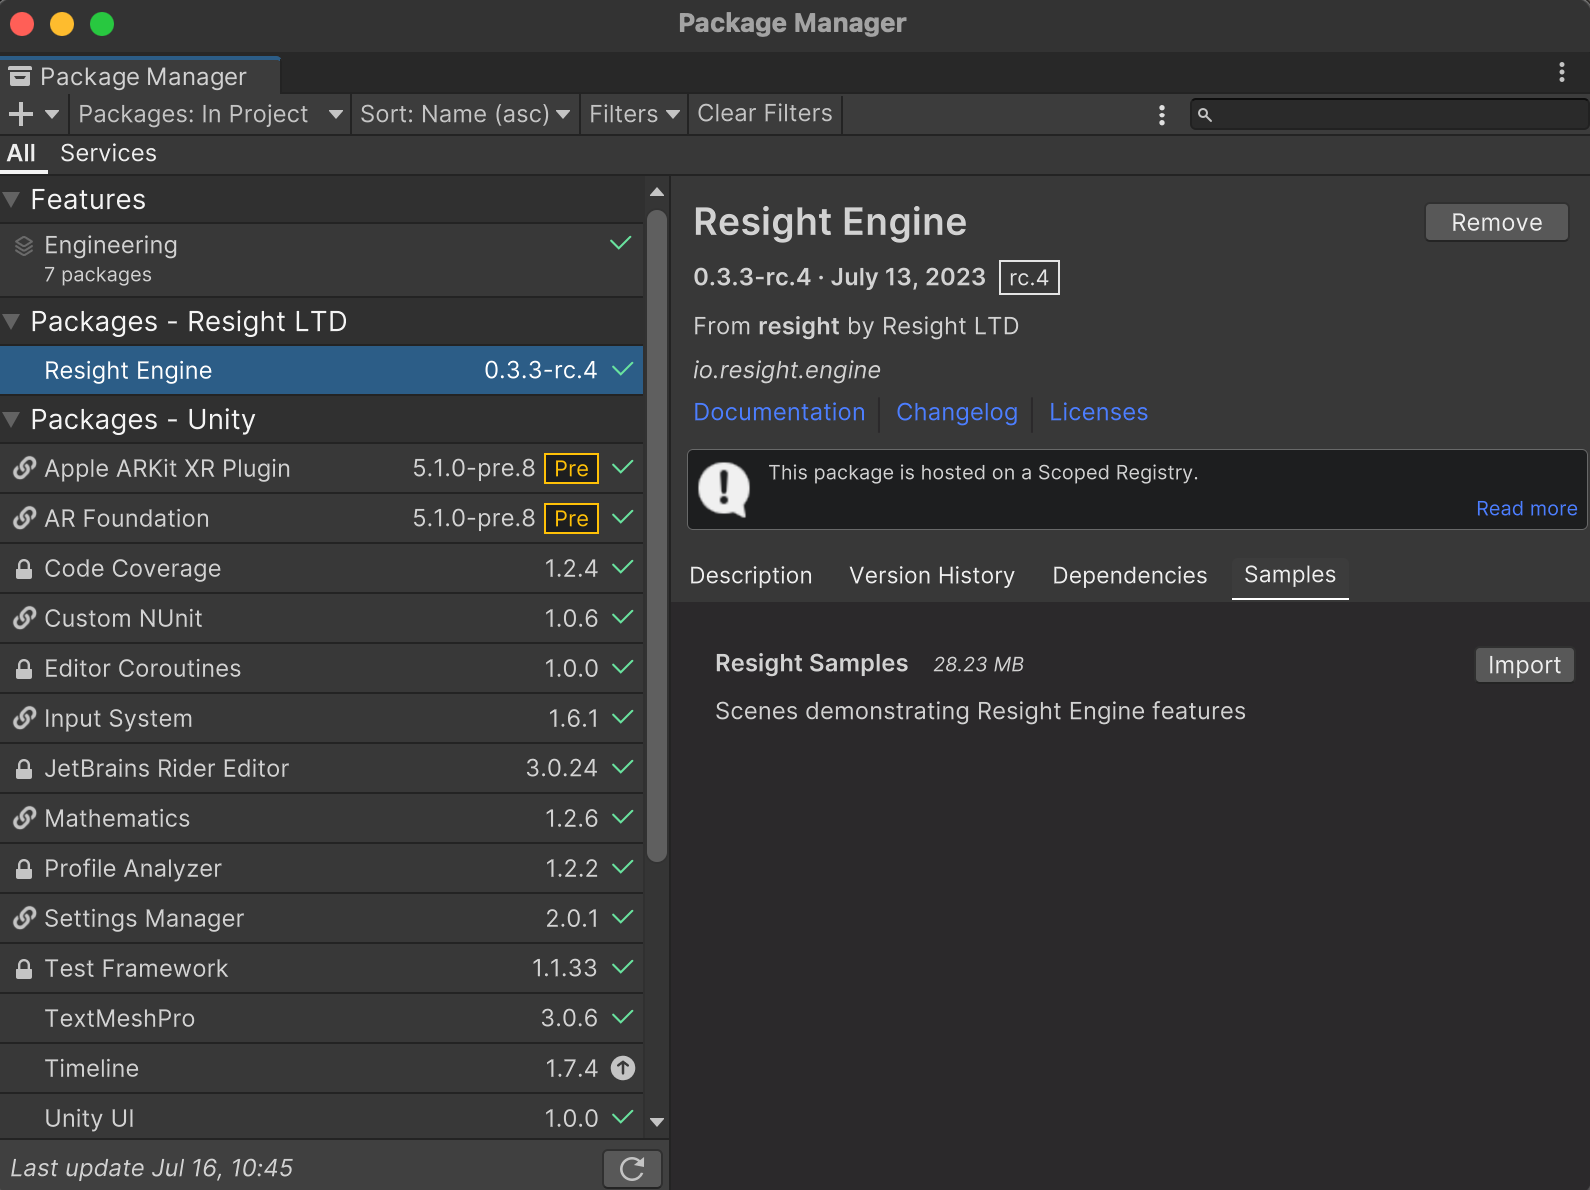
Open the sample scene: Assets / Samples / Resight Engine / <resight-version> /Resight Samples
where <resight-version> is the current version installed, and open one of the sample scenes
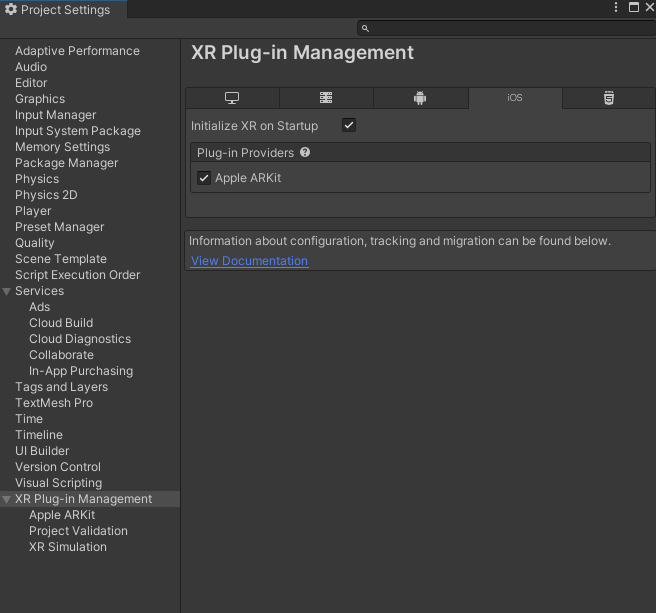
# Project Settings
Go to Edit / Project Settings > 'XR Plug-in Management' tab
- Make sure that 'Apple ARKit' is selected
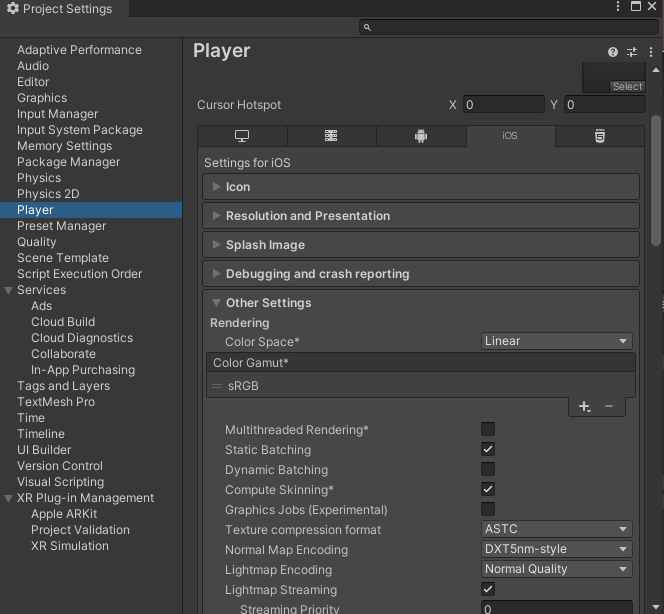
Go to Edit / Project Settings > 'Player' tab > 'Other Settings' section
Deselect 'Multithreaded Rendering'
# Shadows (Optional)
Go to Edit / Project Settings > 'Quality' tab
- Select the quality level for the iOS build (the line that has a green checkmark under the iOS column)
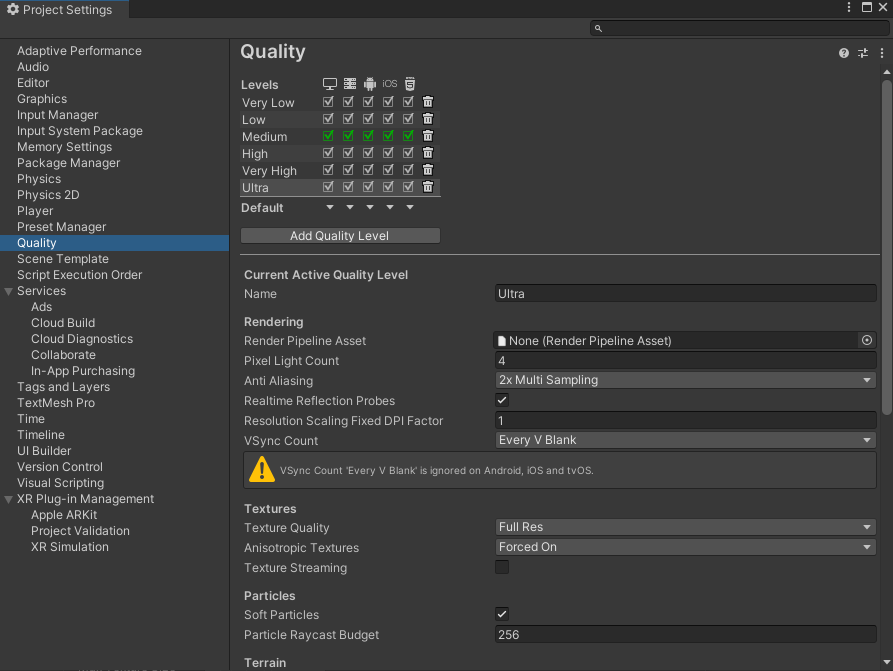
  - Shadow Resolution: Medium or High
  - Shadow Projection: Close Fit
  - Shadow Distance: 10
  - Shadow Cascades: Two Cascades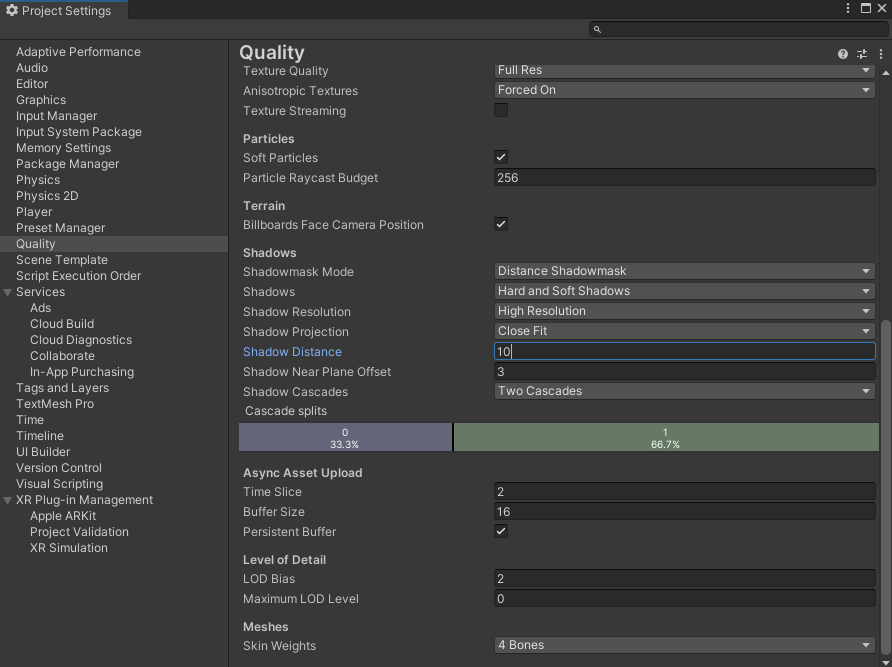
# Lighting (Optional)
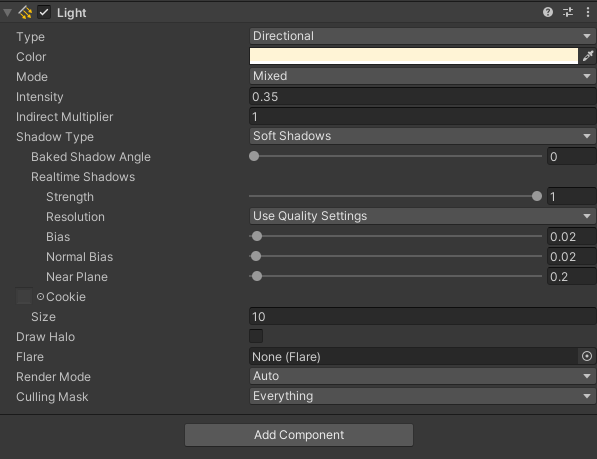
Find the Directional Light object in the Hierarchy
Light settings:
 - Change intensity to 0.35
 - Change Bias to 0.02
 - Change Normal Bias to 0.02
 - Change Near Plane to 0.2
# Get a Developer Key
TIP
To acquire the development key, simply sign-up (opens new window) on our website. In case you have already registered but haven't received it, please reach out to us.
# Upgrading Resight Engine
If you've already integrated Resight Engine and just want to upgrade to the latest version, go to Window / Package Manager and check for updates.